
DIY Brake Pad Replacement: Saving Money Without Sacrificing Safety
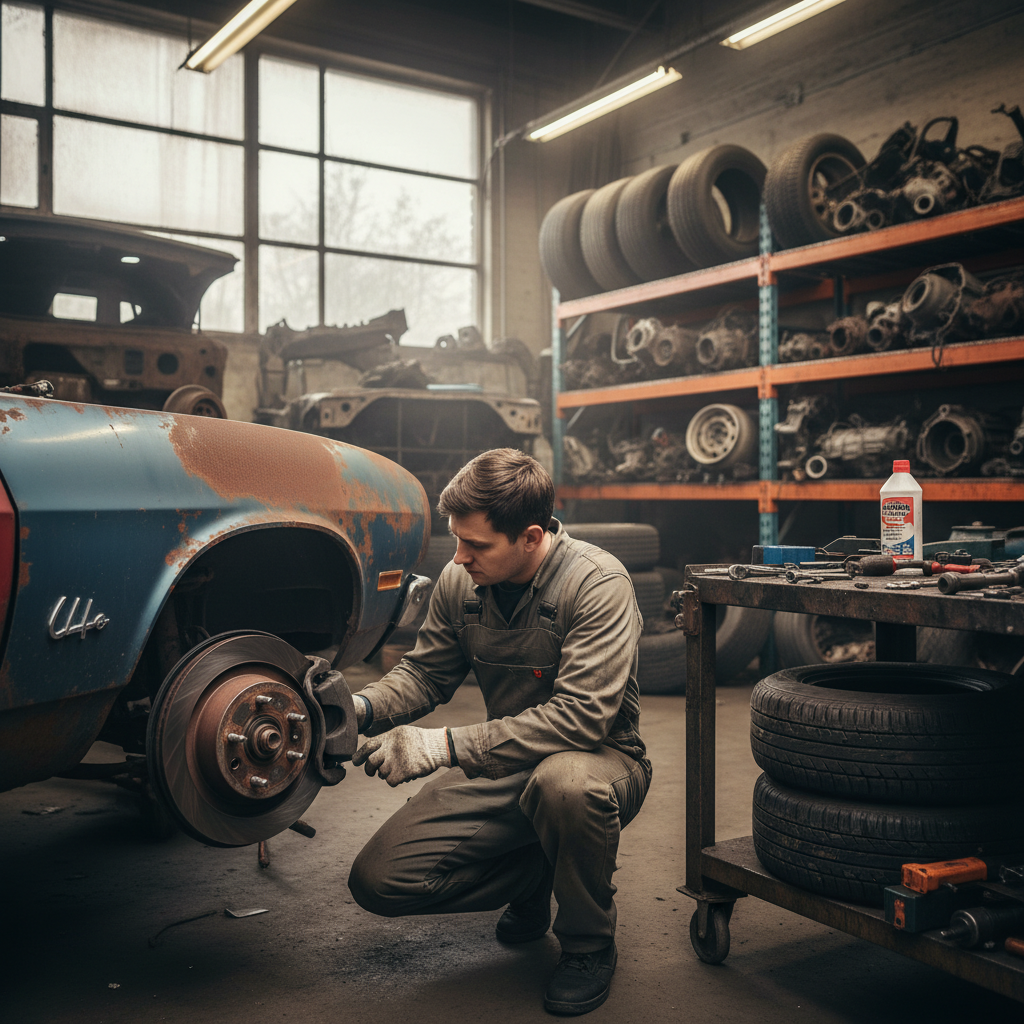
DIY Brake Pad Replacement: Saving Money Without Sacrificing Safety
Maintaining your vehicle’s braking system is arguably the most critical aspect of car ownership. Whether you are navigating the dense traffic of Washington, D.C., commuting through Philadelphia, or driving the busy corridors of Baltimore and Newark, Delaware, your brakes are your primary safety feature. However, professional brake jobs at dealerships can often cost hundreds of dollars in labor alone. By learning how to perform a DIY brake pad replacement, you can significantly reduce costs while ensuring your vehicle remains safe on the road.
At JP Auto Hub, we believe that saving money shouldn’t mean compromising on quality. That is why we emphasize the use of OEM parts and high-quality recycled car parts. In this guide, we will walk you through the technical process of changing your brake pads and explain why sourcing your components from a reputable supplier of used auto parts is a smarter choice than buying budget-market alternatives.
Why Quality Matters in the Mid-Atlantic Region
Drivers in the Mid-Atlantic face unique challenges. From the stop-and-go congestion on I-95 in Philadelphia to the humid, salt-heavy winters in Baltimore and Newark, brake components are subjected to extreme thermal cycling and corrosion. Cheap, white-box aftermarket pads often lack the proper shims, slots, and chamfers required to dissipate heat and reduce noise effectively.
When you choose OEM parts, you are installing components specifically engineered for your vehicle’s weight, rotor diameter, and hydraulic pressure. While new pads are standard, many DIYers find that they also need to replace related components like calipers or rotors. Sourcing these as recycled car parts from JP Auto Hub allows you to maintain factory specifications at a fraction of the price of new dealership components.
The Secret to Professional Results: OEM vs. Aftermarket
Many car owners are tempted by the low prices of generic aftermarket pads found at big-box retailers. However, there is a significant difference in performance. Below is a comparison of why sourcing used auto parts (for hardware/calipers) and OEM pads is superior:
| Feature | Cheap Aftermarket Pads | OEM / High-Quality Recycled Parts |
|---|---|---|
| Material Composition | Varies; often high metallic content | Specific ceramic or semi-metallic blend |
| Noise Reduction | Prone to squealing | Includes multi-layer shims for quiet operation |
| Heat Dissipation | Poor; can lead to brake fade | Engineered for specific vehicle thermal loads |
| Longevity | Wears quickly; can damage rotors | Matches original vehicle lifespan |
By choosing JP Auto Hub, you gain access to a curated inventory of components that ensure your vehicle performs exactly as the manufacturer intended.
Tools and Materials Needed
Before you begin, ensure you have the following tools ready. Having the right equipment is essential for a safe and efficient replacement.
- Jack and jack stands (never work under a car supported only by a jack)
- Lug wrench
- C-clamp or brake piston tool
- Socket set and wrenches
- Brake cleaner and wire brush
- High-temperature brake grease
- New OEM brake pads
- Replacement calipers or rotors (if needed, sourced from used auto parts inventory)
Step-by-Step Brake Pad Replacement Guide
Step 1: Preparation and Safety
Park your vehicle on a flat surface. Loosen the lug nuts on the wheels before lifting the car. Once the car is securely on jack stands, remove the lug nuts and the wheel. This is a great time to inspect the entire wheel well for any signs of wear or fluid leaks. If you notice a leaking caliper, it is vital to replace it immediately. You can find reliable, tested calipers among our recycled car parts at JP Auto Hub.
Step 2: Removing the Caliper
Locate the caliper bolts (usually two) on the back of the caliper assembly. Use the appropriate socket size to remove them. Once the bolts are out, gently slide the caliper off the rotor. Important: Do not let the caliper hang by the rubber brake hose, as this can cause internal damage. Use a bungee cord or wire to hang the caliper from the suspension spring.
📹 Recommended Video
For a visual guide, search “how to change front brake pads and rotors step by step tutorial” on
YouTube.
Step 3: Replacing the Pads
Remove the old brake pads from the caliper bracket. Note how the metal clips (abutment clips) are positioned. Use a wire brush and brake cleaner to remove rust and brake dust from the bracket. If the clips are worn or corroded, replace them. Apply a thin layer of high-temperature grease to the back of the new OEM pads (where they touch the piston) and the contact points on the bracket. Do not get grease on the friction surface of the pad or the rotor.
Step 4: Compressing the Piston
Before you can fit the new, thicker pads, you must compress the caliper piston. Use a C-clamp or a dedicated brake tool to slowly push the piston back into its housing. Keep an eye on the brake fluid reservoir in the engine bay to ensure it doesn’t overflow as the fluid is pushed back up the lines.
Step 5: Reassembly
Slide the new pads into the bracket, place the caliper back over the pads, and reinstall the bolts. Ensure the bolts are torqued to the manufacturer’s specifications. Repeat the process for the other side of the vehicle. Once both sides are complete, pump the brake pedal several times until it feels firm before attempting to drive.
Why Choose JP Auto Hub?
For residents in the Washington D.C. and Philadelphia areas, finding reliable parts shouldn’t be a gamble. At JP Auto Hub, we specialize in providing high-quality recycled car parts that undergo rigorous inspection. When you buy used auto parts from us, you are not just saving money—you are contributing to a more sustainable automotive industry by reusing perfectly functional, high-grade components.
Our inventory of OEM parts ensures that your DIY project results in a professional-grade repair. Whether you need a replacement rotor for your commute to Baltimore or a master cylinder for your SUV in Newark, we have the stock to get you back on the road safely.
Final Safety Checks
After installation, perform a “bedding” procedure. This involves making several controlled stops from moderate speeds to transfer a thin layer of friction material from the pads to the rotors. This ensures maximum stopping power and prevents noise.
If you have questions about which parts are right for your specific make and model, do not hesitate to contact us. Our team of experts is ready to help you find the exact recycled car parts you need to complete your DIY brake job successfully.





Copyright 2025 © J&P All right reserved. Powered by IzyoX
