

How to Test a Used Car Battery Before Installation: The Ultimate Guide
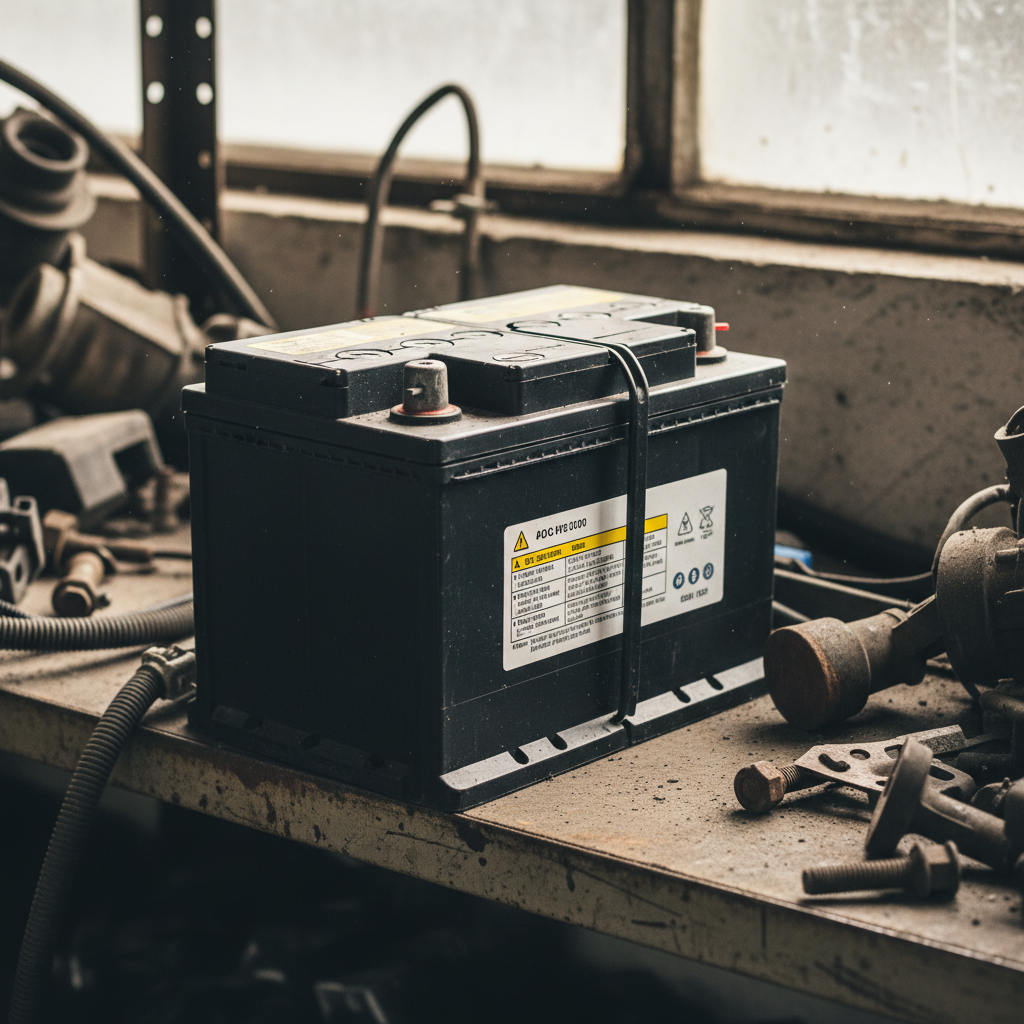
How to Test a Used Car Battery Before Installation: The Ultimate Guide
When it comes to vehicle maintenance, savvy car owners in Philadelphia, Pennsylvania, and Cherry Hill, New Jersey, are increasingly turning to used auto parts to save money without sacrificing quality. One of the most common components sourced from salvage yards is the car battery. However, to ensure your vehicle starts reliably every morning in the humid summers of Annapolis, Maryland, or the freezing winters of Dover, Delaware, you must know how to properly test a battery before it ever enters your engine bay.
At JP Auto Hub, we specialize in providing high-quality recycled car parts that meet rigorous standards. In this guide, we will walk you through the professional steps to verify the health of a battery, ensuring your OEM parts purchase is a sound investment.
Why Testing Matters: The JP Auto Hub Standard
Buying a battery from a reputable source like JP Auto Hub significantly reduces your risk, as we pre-screen our inventory. However, for DIY enthusiasts, performing your own verification provides peace of mind. A battery might look perfect on the outside but could have internal cell damage or sulfation that prevents it from holding a charge under load.
The Advantage of Used OEM Parts Over Cheap Aftermarket Alternatives
Many drivers are tempted by “budget” aftermarket batteries found at big-box retailers. However, these often use thinner lead plates and inferior separators to cut costs. In contrast, OEM parts (Original Equipment Manufacturer) are engineered specifically for your vehicle’s electrical demands. By choosing recycled car parts from a premium vehicle that was retired due to body damage rather than mechanical failure, you often get a superior product that outperforms the cheapest new alternatives.
Essential Tools for the Job
Before you begin, gather the following tools:
- Digital Multimeter: To measure resting voltage.
- Battery Load Tester: To simulate the draw of a starter motor.
- Wire Brush: To clean terminals for an accurate reading.
- Safety Gear: Gloves and eye protection are mandatory when handling lead-acid batteries.
Step 1: The Visual Inspection
Before connecting any electronic testers, perform a thorough physical check. Look for the following red flags:
- Case Bulging: This indicates the battery was overcharged or exposed to extreme heat, causing internal plates to swell.
- Leaking or Corrosion: Excessive white or blue powdery buildup around the terminals suggests acid leaks or chronic undercharging.
- Date Codes: Most batteries have a sticker or heat-stamp indicating the manufacture date. A battery older than 4-5 years is nearing the end of its chemical life, regardless of its current charge.
Step 2: Testing Resting Voltage with a Multimeter
A multimeter measures the electrical potential between the positive and negative terminals. Set your multimeter to 20V DC and touch the probes to the corresponding terminals.
| Voltage Reading | State of Charge | Action Required |
|---|---|---|
| 12.6V – 12.8V | 100% | Ready for testing |
| 12.4V | 75% | Needs a light charge |
| 12.2V | 50% | Charge before testing |
| 12.0V or lower | 0% / Discharged | Potential defective cell |
If the battery reads below 12.4V, it is best to put it on a trickle charger for 24 hours before proceeding to the load test. A surface charge can sometimes provide a false sense of security, so if the battery was recently charged, turn on your headlights for 30 seconds to remove the surface charge before measuring.
Step 3: The Load Test (The Ultimate Decider)
Voltage alone doesn’t tell the whole story. A battery might show 12.6V but fail instantly when asked to crank an engine. This is where a load tester is essential. This device applies a high-amperage draw to the battery, mimicking the starter motor.
- Connect the load tester to the battery terminals.
- Apply the load for exactly 10 seconds (do not exceed this to avoid overheating).
- Observe the needle or digital display. The voltage should not drop below 9.6V during the 10-second window (at 70°F).
- If the voltage plummets into the “Red” or “Fail” zone, the battery has high internal resistance and is not fit for installation.
📹 Recommended Video
For a visual guide, search “how to use a battery load tester and multimeter on car battery” on
YouTube.
Step 4: Hydrometer Testing (For Non-Sealed Batteries)
If you are working with a non-sealed battery where the caps can be removed, a hydrometer test is the most accurate way to check the health of individual cells. By measuring the specific gravity of the electrolyte, you can determine if one cell is weaker than the others. A variation of more than 0.050 between cells indicates a failing battery.
Maximizing Battery Life in the Mid-Atlantic Region
Whether you are driving through the stop-and-go traffic of Philadelphia or the coastal air of Annapolis, your battery faces unique challenges. Salt air can accelerate terminal corrosion, while the temperature swings in Cherry Hill and Dover put immense strain on the chemical processes inside the battery.
To protect your used auto parts investment:
- Apply a thin layer of dielectric grease to the terminals to prevent oxidation.
- Ensure the battery hold-down bracket is secure; vibration is a leading cause of internal plate failure.
- Keep the top of the battery clean. Dirt can become conductive, leading to a slow parasitic drain.
Trust JP Auto Hub for Your Recycled Car Parts
Testing a battery is a critical skill, but starting with a quality component is even more important. At JP Auto Hub, we take the guesswork out of the equation. We source OEM parts from low-mileage vehicles and verify their integrity before they reach our customers. Our commitment to sustainability through recycled car parts helps the environment while keeping your repair costs manageable.
If you have questions about a specific part or need help finding the right battery for your make and model, Contact Us today. We proudly serve the entire Delaware Valley and Maryland regions with the best in automotive salvage and expertise.
Final Checklist Before Installation
- Confirm the terminal orientation (Positive/Negative) matches your vehicle’s cables.
- Check the Cold Cranking Amps (CCA) rating to ensure it meets your manufacturer’s specifications.
- Verify the Group Size—a battery that doesn’t fit securely in the tray is a safety hazard.
By following these professional testing steps, you can install your used auto parts with total confidence, knowing your vehicle is powered by a reliable, tested OEM part from JP Auto Hub.





Copyright 2025 © J&P All right reserved. Powered by IzyoX
