

Step-by-Step Guide: Replacing Your Own Alternator in a Winter Climate
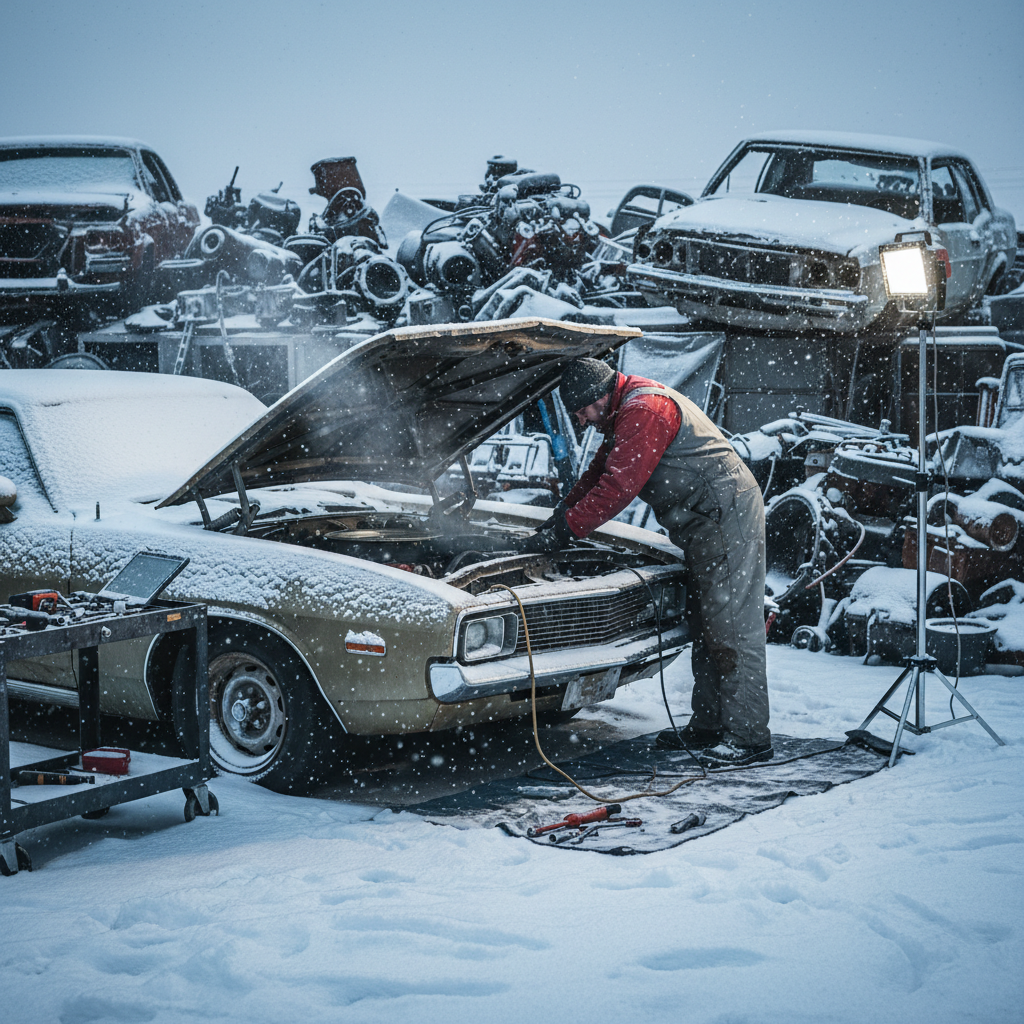
Step-by-Step Guide: Replacing Your Own Alternator in a Winter Climate
Winter in the Mid-Atlantic region—from the freezing winds of Philadelphia and Camden to the damp, icy slush of Baltimore and Washington, D.C.—is notoriously hard on vehicles. While most drivers focus on their tires and antifreeze, the vehicle’s electrical system often bears the heaviest burden. When your car struggles to start on a 20-degree morning, the battery is usually the first suspect, but the alternator is frequently the true culprit.
The alternator is the heart of your car’s electrical system, responsible for charging the battery and powering all electrical components while the engine is running. In this guide, we will walk you through the technical process of replacing your own alternator during the winter months, and explain why sourcing used auto parts from JP Auto Hub is the smartest move for your wallet and your vehicle’s longevity.
Why Winter Kills Alternators
Cold temperatures increase the viscosity of engine oil, making the engine harder to turn over. This requires more amperage from the battery. Simultaneously, winter driving involves heavy use of heaters, defrosters, heated seats, and wipers. This massive electrical load forces the alternator to work at maximum capacity for extended periods. If an alternator is already aging, the thermal stress of heating up while under heavy load and then cooling rapidly in freezing temperatures can cause internal diodes or the voltage regulator to fail.
Signs Your Alternator is Failing
- Dimming or Flickering Lights: Especially noticeable when the heater or defroster kicks in.
- The Battery Warning Light: Usually a red battery icon on the dashboard.
- Strange Noises: A whining or grinding sound from the front of the engine, often indicating a failing bearing.
- Electrical Gremlins: Power windows moving slowly or the radio cutting out unexpectedly.
Why Choose Used OEM Parts Over Cheap Aftermarket Units?
When searching for a replacement, many DIYers in the Philadelphia and DC areas are tempted by “new” aftermarket alternators sold at big-box retailers. However, there is a significant difference in quality between a cheap knock-off and OEM parts (Original Equipment Manufacturer).
| Feature | Cheap Aftermarket | Used OEM (JP Auto Hub) | |||||||||
|---|---|---|---|---|---|---|---|---|---|---|---|
| Build Quality | Thin copper windings, lower-grade diodes. | Heavy-duty factory specs, high-purity copper. | Precision Fit | May require shims or bracket modification. | Perfect drop-in fit for your specific VIN. | Reliability | Prone to failure within 12 months. | Proven longevity and durability. | Cost | High markup for “new” status. | Significant savings for superior quality. |
At JP Auto Hub, we specialize in recycled car parts that are rigorously inspected. Buying a used OEM alternator means you are getting a part designed by the vehicle’s original engineers to handle the specific electrical demands of your car. This is far superior to a generic unit built to a price point in an overseas factory.
Tools and Materials Needed
Before you head out into the cold, ensure you have the following tools ready:
- Basic socket set (metric and standard)
- Serpentine belt tool or a long-handled breaker bar
- Voltmeter or Multimeter
- Wire brush (for cleaning terminals)
- Safety glasses and gloves
- A high-quality used alternator from JP Auto Hub
Step-by-Step Alternator Replacement
Step 1: Safety First – Disconnect the Battery
In a winter climate, metal components can be brittle and your hands will be cold, so work carefully. Always disconnect the negative battery terminal first. This prevents accidental shorts while you are working near the alternator’s high-current output wire. If you notice corrosion on the terminals, use a wire brush to clean them—this is a common issue in the salt-heavy environments of Camden and Baltimore.
Step 2: Remove the Serpentine Belt
Locate the belt tensioner. Using your breaker bar or tensioner tool, rotate the tensioner to release the pressure on the belt. Slide the belt off the alternator pulley. Pro Tip: Take a photo of the belt routing or look for the diagram under the hood before removing it.
Step 3: Disconnect the Electrical Connections
There are typically two connections on the back of the alternator: a large wire (the B+ terminal) held on by a nut, and a plastic wiring harness plug. In cold weather, plastic becomes brittle; be extremely gentle when depressing the tabs on the wiring harness to avoid snapping them.
Step 4: Unbolt and Remove the Old Alternator
Most alternators are held in place by two to four bolts. Use your socket set to remove these. If the alternator is stuck due to road salt and oxidation (common in the Northeast), a light tap with a rubber mallet may be necessary to break it free. Once the bolts are out, maneuver the unit out of the engine bay.
Step 5: Install the Replacement OEM Alternator
Compare your old unit with the recycled car parts you received from JP Auto Hub. Slide the new unit into place and hand-start the bolts to ensure they aren’t cross-threaded. Tighten them to the manufacturer’s torque specifications. Reconnect the B+ wire and the plastic wiring harness.
📹 Recommended Video
For a visual guide, search “how to replace a car alternator step by step tutorial” on
YouTube.
Step 6: Reinstall the Belt and Test
Route the serpentine belt back over the pulleys, leaving the tensioner for last. Apply pressure to the tensioner, slide the belt on, and ensure it is perfectly seated in the grooves of every pulley. Reconnect your battery terminals.
Final Testing in Cold Weather
Once the installation is complete, start the engine. Use a multimeter to check the voltage at the battery terminals. A healthy alternator should show between 13.8 and 14.6 volts while the engine is idling. If you are in a high-demand environment like stop-and-go traffic in Washington, D.C., turn on your headlights and heater to ensure the voltage stays above 13.2 volts under load.
Conclusion: Quality Parts for Winter Reliability
Replacing an alternator is a manageable DIY task that can save you hundreds of dollars in labor costs. However, the success of the repair depends entirely on the quality of the part. Don’t gamble with cheap aftermarket units that may leave you stranded on a dark, snowy night in Philadelphia. Choose recycled car parts from a trusted source.
If you have questions about which alternator fits your vehicle, or if you need other used auto parts to get your car through the season, contact us today. At JP Auto Hub, we are dedicated to providing the Mid-Atlantic region with the highest quality OEM parts at unbeatable prices.





Copyright 2025 © J&P All right reserved. Powered by IzyoX
