

How to Test a Used Car Battery Before Installation: A Complete Guide for Drivers in MD, DE, and NJ
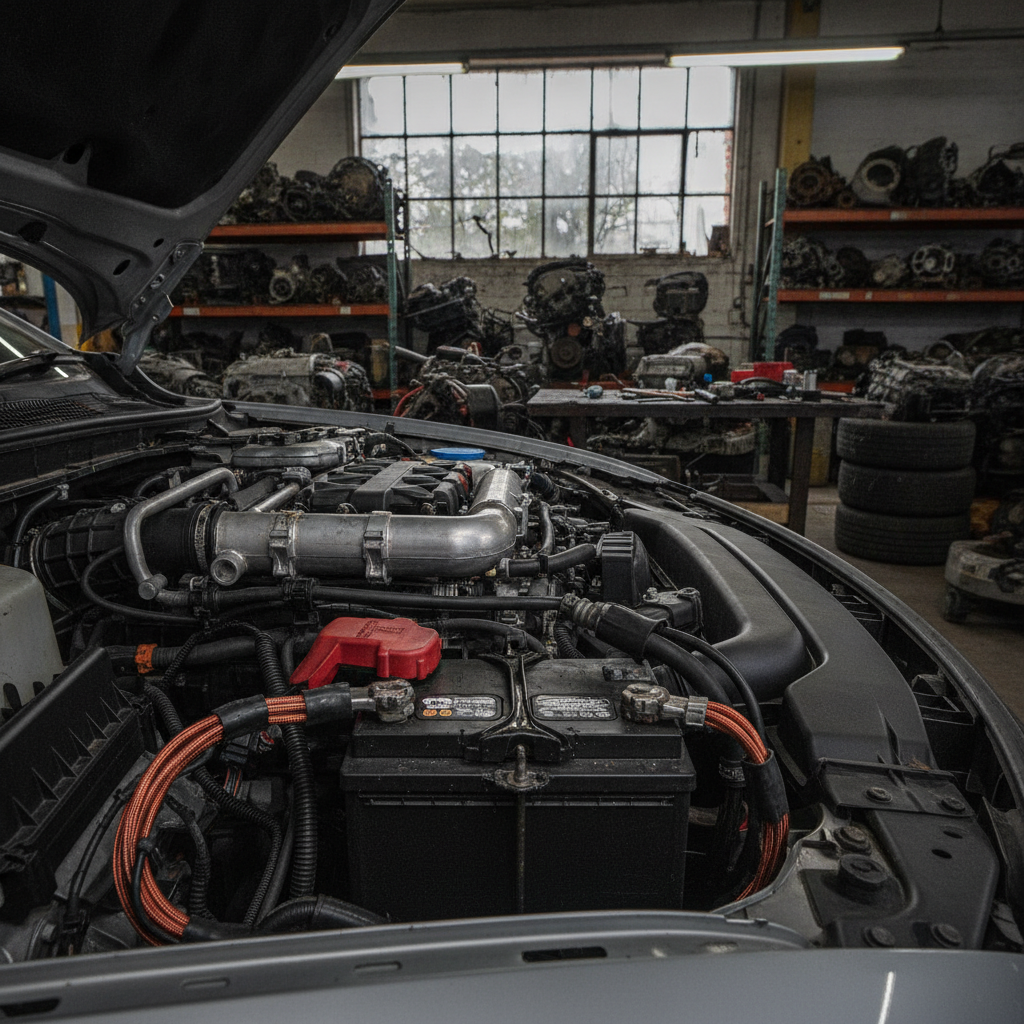
How to Test a Used Car Battery Before Installation
For drivers in Annapolis, Maryland, and across the Delaware Valley from Newark to Cherry Hill, maintaining a vehicle can be an expensive endeavor. When a battery fails, many savvy car owners turn to used auto parts as a cost-effective and environmentally friendly solution. However, to ensure you are getting a reliable power source, it is crucial to know how to test a battery before it ever reaches your engine bay. At JP Auto Hub, we specialize in providing high-quality recycled car parts, but we also believe in empowering our customers with the technical knowledge to verify their components.
Why Choose Used OEM Parts Over Cheap Aftermarket?
Before diving into the testing procedures, it is important to understand why OEM parts (Original Equipment Manufacturer) are superior to the ‘budget’ batteries found at big-box retailers. An OEM battery is designed specifically for your vehicle’s electrical load and charging system specifications. Cheap aftermarket alternatives often use thinner lead plates and lower-quality separators to reduce costs, leading to premature failure in the fluctuating climates of Dover, Delaware, and Newark.
By choosing recycled car parts from a reputable source like JP Auto Hub, you are getting a component that meets the manufacturer’s original standards for cold cranking amps (CCA) and reserve capacity, often at a fraction of the price of a new unit. Plus, you are contributing to a circular economy that reduces industrial waste.
Essential Tools for Testing
To accurately assess the health of a used battery, you will need a few basic tools. Having these on hand will save you time and prevent the frustration of installing a dead unit.
- Digital Multimeter: To measure resting voltage.
- Battery Load Tester: To simulate the high current draw of a starter motor.
- Wire Brush or Terminal Cleaner: To ensure a solid connection.
- Safety Gear: Specifically gloves and eye protection to guard against battery acid.
Step 1: The Visual Inspection
Before applying any electrical load, perform a thorough visual check. A battery that fails the ‘eye test’ should not be installed, regardless of its voltage reading.
| Feature | What to Look For | Red Flags |
|---|---|---|
| Case Integrity | Smooth, flat sides | Bulging, bloating, or cracks |
| Terminals | Clean, solid metal | Heavy corrosion, melting, or looseness |
| Date Code | Manufactured within last 3-4 years | Stickers or stamps older than 5 years |
| Leakage | Dry exterior | Wet residue or white powdery acid buildup |
If you notice any bulging, it usually indicates that the battery was overcharged or frozen, which compromises the internal lead plates. If the battery passes this inspection, you are ready for electrical testing.
Step 2: Voltage Testing with a Multimeter
A multimeter provides a ‘snapshot’ of the battery’s state of charge. Set your multimeter to 20V DC and touch the red probe to the positive terminal and the black probe to the negative terminal.
- 12.6V or higher: The battery is fully charged and healthy.
- 12.4V: The battery is at about 75% charge; it is likely fine but should be topped off.
- 12.2V or lower: The battery is discharged. It may be sulfated or simply need a deep charge.
Note: If a battery has been sitting at a low voltage for an extended period, it may have developed lead sulfate crystals on the plates, which significantly reduces its lifespan. This is why sourcing from JP Auto Hub is safer, as our inventory is managed to prevent such degradation.
Step 3: The Load Test (The Ultimate Trial)
A battery can show 12.6V but still fail to start a car because it lacks the amperage capacity. This is where a load tester is vital. The load tester applies a resistance that mimics the starter motor. Apply the load for 10-15 seconds as per the tool’s instructions. If the voltage drops below 9.6V during the load application (at room temperature), the battery is likely defective and should be rejected.
📹 Recommended Video
For a visual guide, search “how to use a car battery load tester tutorial” on
YouTube.
Step 4: Specific Gravity (For Non-Sealed Batteries)
If you are working with an older style, non-sealed battery with removable caps, you can use a hydrometer to check the specific gravity of the electrolyte. This is the most accurate way to find a ‘dead cell.’ If one cell shows a significantly lower reading than the others, the battery is internaly compromised and should be traded for another unit from our used auto parts inventory.
Serving the Mid-Atlantic Region
Whether you are a DIY enthusiast in Annapolis, Maryland, or a professional shop owner in Cherry Hill, New Jersey, the quality of your components matters. At JP Auto Hub, we understand the local needs. The cold winters in Dover and the humid summers in Newark put immense strain on vehicle electrical systems. That is why we prioritize the testing and procurement of high-grade OEM parts.
Conclusion: Reliability You Can Trust
Testing a used battery is a straightforward process that ensures your vehicle remains reliable. By following these steps—visual inspection, voltage check, and load testing—you can confidently install recycled car parts without fear of being stranded. If you are looking for the best selection of tested, high-quality components in the Maryland, Delaware, and New Jersey area, look no further than JP Auto Hub. Our commitment to quality and customer service makes us the premier destination for all your automotive needs.
Ready to find your next part? Contact us today or browse our online inventory to see how we can help you get back on the road for less.





Copyright 2025 © J&P All right reserved. Powered by IzyoX
