
How to Test a Used Car Battery Before Installation | JP Auto Hub Guide
How to Test a Used Car Battery Before Installation: The Ultimate Guide
Whether you are a DIY enthusiast in Philadelphia or a professional mechanic in Cherry Hill, sourcing high-quality used auto parts is a smart way to maintain your vehicle without breaking the bank. At JP Auto Hub, we specialize in providing premium recycled car parts that offer the reliability of OEM parts at a fraction of the cost. However, when it comes to electrical components like batteries, knowing how to verify their health before installation is a critical skill.
A car battery is the heart of your vehicle’s electrical system. Installing a battery without testing it first can lead to frustrating no-start conditions or even damage to your alternator. This comprehensive guide will walk you through the technical steps required to ensure your used battery is ready for the roads of Wilmington and Dover.
[IMAGE_PLACE_HOLDER_1]
Why Choose Used OEM Parts Over Cheap Aftermarket Alternatives?
Before we dive into the testing procedures, it is important to understand why professional technicians prefer OEM parts from JP Auto Hub over brand-new, budget-tier aftermarket batteries. Cheap aftermarket batteries often use thinner lead plates and inferior paste formulations to meet a lower price point. In contrast, an OEM battery is engineered specifically for your vehicle’s cranking requirements and vibration resistance.
- Durability: OEM batteries are built to stricter manufacturer standards.
- Fitment: Perfect terminal placement and group size for your specific make and model.
- Sustainability: Using recycled car parts reduces the environmental impact of lead mining and manufacturing.
Essential Tools for Battery Testing
To accurately assess a battery’s condition, you will need more than just a visual inspection. Gather the following tools:
- Digital Multimeter: To measure the static voltage (State of Charge).
- Battery Load Tester: To simulate the high-amperage draw of a starting motor.
- Wire Brush: For cleaning terminals to ensure a clean electrical contact.
- Safety Gear: Safety glasses and acid-resistant gloves.
Step 1: Visual Inspection and Surface Preparation
Before applying any electrical load, inspect the physical casing of the battery. Look for cracks, bulging, or leaking electrolyte. A bulging case often indicates that the battery was overcharged or frozen, both of which are internal death sentences for lead-acid cells.
Check the date code. Most batteries have a sticker or a heat-stamped code indicating the month and year of manufacture. While JP Auto Hub ensures quality across our inventory, knowing the age helps you estimate the remaining service life. Clean the terminals with a wire brush to remove any oxidation or sulfate buildup, as this can cause resistance and false readings.
[IMAGE_PLACE_HOLDER_2]
Step 2: The Static Voltage Test
Set your digital multimeter to the DC Voltage setting (usually 20V range). Connect the red probe to the positive terminal and the black probe to the negative terminal. A fully charged 12V battery should read approximately 12.6V to 12.8V.
| Voltage Reading | State of Charge | Action Required |
|---|---|---|
| 12.6V – 12.8V | 100% | Ready for Load Test |
| 12.4V | 75% | Charge before testing |
| 12.2V | 50% | Charge and re-evaluate |
| 12.0V or lower | 0% – 25% | Likely defective or deeply discharged |
If the battery reads below 12.4V, it must be charged before a load test can be performed. Testing a discharged battery will result in a false failure.
Step 3: Performing the Load Test
This is the most critical step. A battery can show 12.6V but lack the amperage (CCA – Cold Cranking Amps) to turn over an engine. A load tester applies a high-resistance load to the battery for about 10 to 15 seconds.
- Connect the load tester clamps to the battery terminals.
- Observe the current voltage.
- Depress the load switch for 10 seconds.
- The voltage should not drop below 9.6V during the load (at 70°F).
If the needle drops into the red zone or falls below 9.6V, the battery has internal cell degradation and is not suitable for installation.
[VIDEO_PLACE_HOLDER]
The JP Auto Hub Advantage in the Mid-Atlantic Region
Drivers in Philadelphia, PA, and Cherry Hill, NJ, face extreme temperature fluctuations—from freezing winters to humid summers. These conditions are brutal on batteries. By sourcing your used auto parts from a reputable supplier like JP Auto Hub, you are getting components that have been vetted for quality.
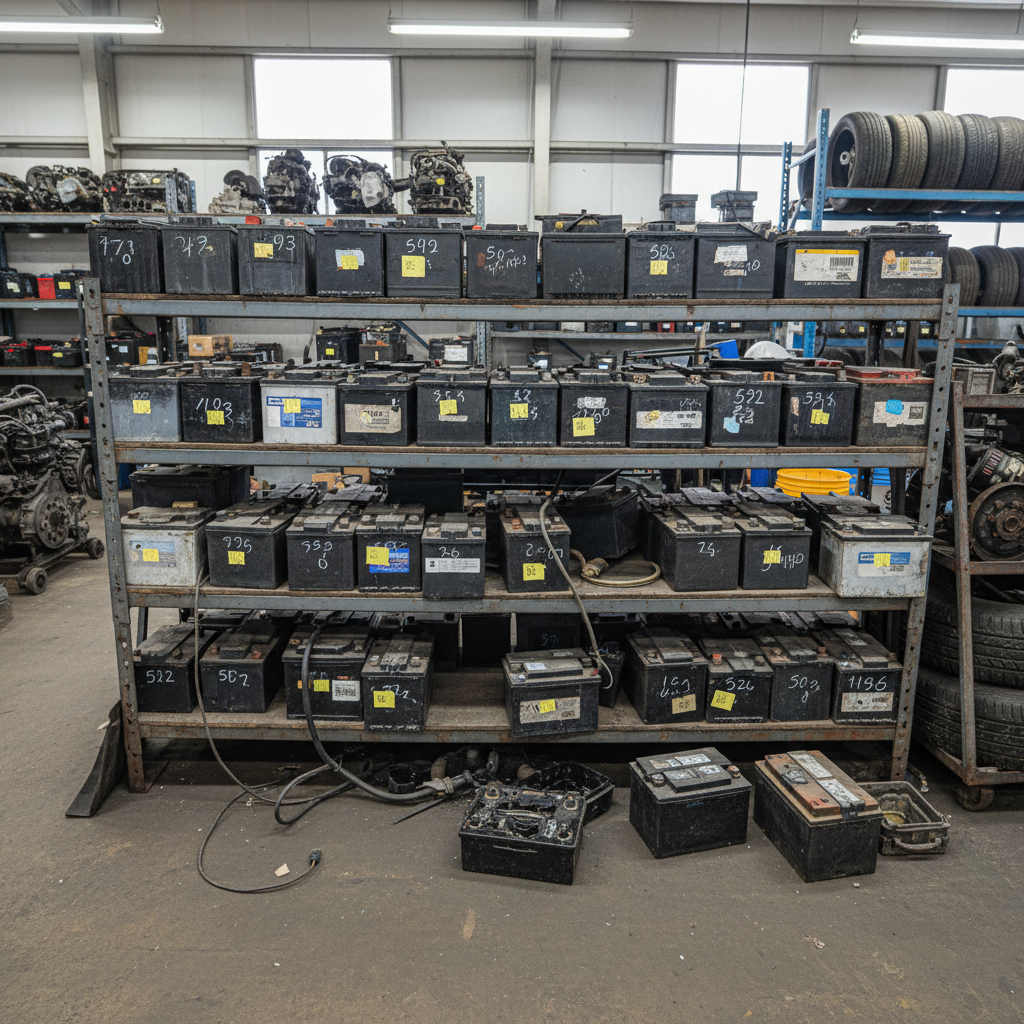
We serve the entire region, including Wilmington and Dover, Delaware, providing a bridge between affordability and OEM reliability. Our inventory of recycled car parts is meticulously organized, ensuring that when you search for a battery, alternator, or starter, you receive a part that meets factory specifications.
[IMAGE_PLACE_HOLDER_3]
Step 4: Hydrometer Testing (For Non-Sealed Batteries)
If the battery has removable caps, you can use a hydrometer to measure the specific gravity of the electrolyte in each cell. This tells you if one specific cell is dead. A variation of more than 0.050 between cells indicates a faulty battery. Most modern OEM batteries are Maintenance-Free (sealed), so this step is often skipped in favor of electronic conductance testing.
Conclusion: Reliability You Can Trust
Testing a used battery is a straightforward process that ensures your vehicle remains reliable. By following these steps—visual inspection, voltage check, and load testing—you can confidently install used auto parts and enjoy the savings without the risk. For the best selection of OEM parts and expert advice in the Philadelphia and Delaware areas, contact JP Auto Hub today. We are dedicated to keeping your vehicle on the road with high-quality, sustainable solutions.


Copyright 2025 © J&P All right reserved. Powered by IzyoX
